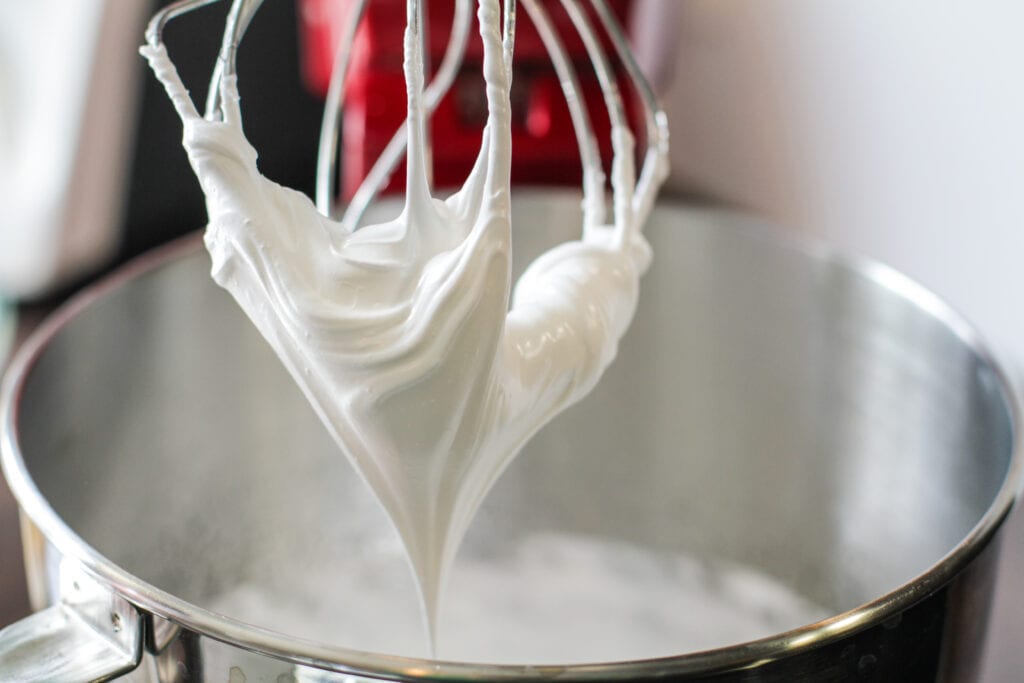
Unfortunately, in this age of pre-made everything, making even simple basics like homemade whipped cream is becoming a lost art. Many people are even under the impression that the average person can’t make them–that you have to buy what a factory produced. But whipped cream is actually one of the easiest–and tastiest–things ever!
What You Need
Equipment
Mixer Method
- a medium mixing bowl or the bowl on a stand mixer
- a hand mixer or a stand mixer with a whisk attachment
Jar Method
- 1-quart size mason jar and lid
- 2 glass marbles
Ingredients
- 1 cup heavy whipping cream
- 1 tablespoon powdered Sugar Substitute
- 1 teaspoon vanilla extract
- 1 pinch (1/8 teaspoon) salt
What You Do
Mixer Method
The mixer method is the quick and easy method, but you do need the right equipment. If you’d like, you could also mix by hand with a regular whisk, but it will take quite a bit longer.
- Pour the cream and sugar into a mixing bowl.
- Using a hand mixer or a stand mixer with the whisk attachment, beat the whipping cream for 5 to 10 minutes. Stop occasionally and pull up the whisk. If stiff peaks remain, it’s done. If soft peaks gradually sink back in, it needs whipped longer. Be careful not to over whip or you’ll have butter!
- Once stiff, pour in the vanilla and salt and mix until just blended.
- Store in an airtight container in the fridge.
Jar Method
The jar method is the fun, get the whole family involved method! It is great for keeping kids entertained especially, so think about using this method during large family gatherings like those during holidays.
In this method, two glass marbles are added to a mason jar to increase friction so the cream whips faster and also so the sound will give you a neat clue to how close it is to completion.
- Pour all ingredients and the marbles into the mason jar. Adjust the lid tightly.
- Shake, shake, shake! Check every 5 minutes or so. The whipped cream should be thick. You’ll know it’s close when the clacking of the marbles slow down.
- Store in an airtight container (such as the jar you shook it in) in the fridge.
- When serving, keep a careful eye out for the marbles!


